Preparing Cabinet Doors for Wallpapering: How To Wallpaper Cabinet Doors

Transforming your kitchen or bathroom cabinets with wallpaper is a rewarding DIY project. Proper preparation is key to achieving a professional-looking finish that lasts. This section details the necessary tools, materials, and steps to ensure your cabinet doors are ready for wallpaper application.
Necessary Tools and Materials
Gathering the right tools and materials beforehand streamlines the wallpapering process. Having everything organized saves time and reduces frustration. The selection of wallpaper itself significantly impacts the final result and the ease of application.
| Wallpaper Type | Durability | Cost | Application Difficulty |
|---|---|---|---|
| Vinyl | High; washable and durable | Moderate to High | Easy to Moderate |
| Paper | Low; prone to tearing and water damage | Low | Easy |
| Fabric-backed vinyl | High; very durable and hides imperfections | High | Moderate |
| Peel and Stick | Moderate; less durable than vinyl | Moderate | Easy |
Beyond the wallpaper, you’ll need a measuring tape, a sharp utility knife or craft knife, a smoothing tool (plastic smoother or a clean sponge), a pencil, scissors, a level, sandpaper (fine grit), wood primer, paint roller or brush, and a clean cloth. For added protection, consider using painter’s tape to mask edges and protect surrounding areas.
Cleaning and Prepping Cabinet Doors
Thorough cleaning and preparation are essential for ensuring the wallpaper adheres properly and lasts. A clean surface provides the best possible grip for the adhesive. Any imperfections will show through the wallpaper, making preparation a crucial step.
- Remove cabinet doors from their hinges and lay them flat on a clean, protected surface.
- Clean the cabinet doors thoroughly with a damp cloth and mild detergent, removing any grease, dirt, or grime. Allow to dry completely.
- Lightly sand the cabinet door surfaces with fine-grit sandpaper to create a slightly textured surface for better adhesion. Wipe away any dust with a clean, dry cloth.
- Apply a coat of wood primer to the cabinet doors. This helps to seal the wood, preventing the absorption of the wallpaper adhesive and providing a uniform surface for the wallpaper.
- Allow the primer to dry completely according to the manufacturer’s instructions. This usually takes several hours.
Measuring Cabinet Doors for Wallpaper Cutting
Accurate measurements are crucial to minimize waste and ensure a perfect fit. Taking your time and double-checking measurements is well worth the effort to avoid costly mistakes and potential rework. Consider adding a small margin for error, especially for patterns that need matching.
- Measure the height and width of each cabinet door carefully using a measuring tape. Record these measurements precisely.
- Add a few extra centimeters (approximately 2-3cm) to both the height and width measurements to account for potential errors and overlap. This extra material will be trimmed after application.
- If using patterned wallpaper, measure carefully to ensure the pattern matches correctly between panels, particularly on adjacent doors. You may need to add more extra material to account for pattern matching.
- Cut the wallpaper to the measured dimensions using sharp scissors or a utility knife and a metal straight edge for clean lines. Always cut on a flat, stable surface.
- Double-check the cut pieces against the cabinet doors before applying the wallpaper. Making adjustments on the paper is much easier than on the cabinet.
Applying Wallpaper to Cabinet Doors

Applying wallpaper to cabinet doors can dramatically transform your kitchen or bathroom. This process requires patience and precision, but the results are well worth the effort. Remember to always work in a well-ventilated area and follow the manufacturer’s instructions for your specific wallpaper.
Wallpapering Flat Cabinet Doors, How to wallpaper cabinet doors
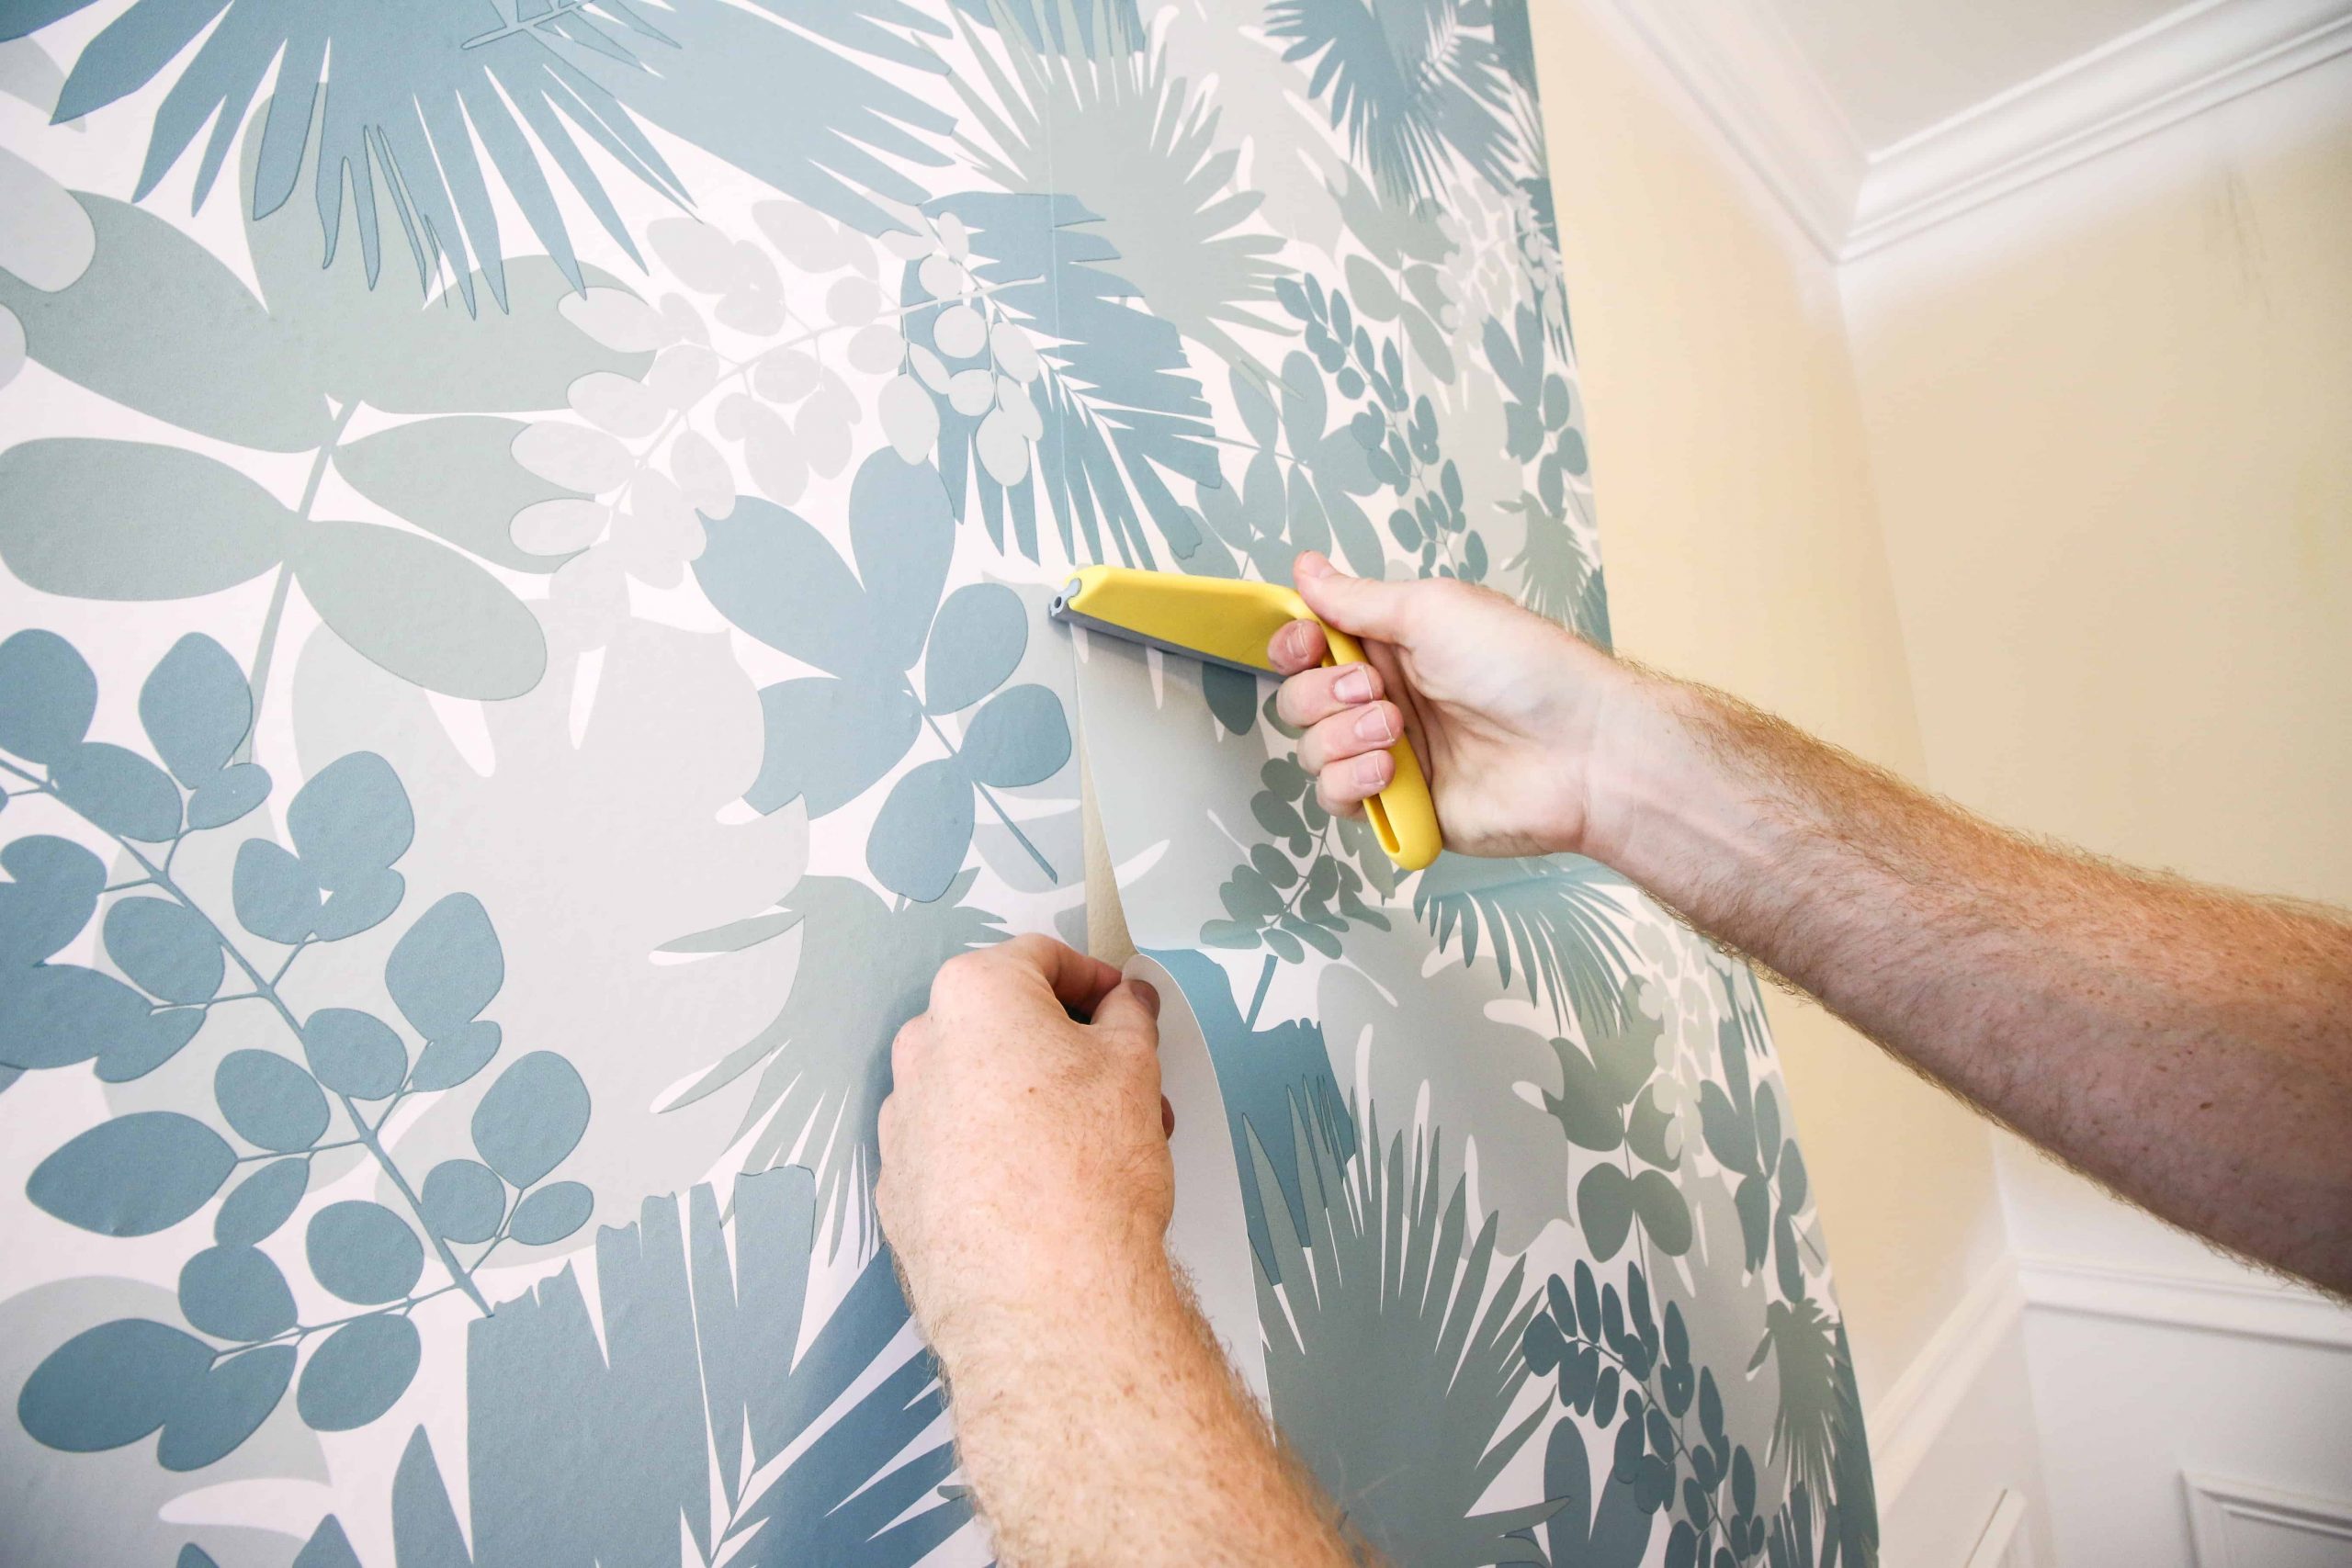
Applying wallpaper to a flat cabinet door is the simplest scenario. Begin by carefully measuring and cutting the wallpaper, adding a few extra inches for trimming. Apply a thin layer of wallpaper paste to the back of the cut piece, following the paste manufacturer’s instructions. Starting at the top center, carefully position the wallpaper onto the door, smoothing it out from the center outwards to avoid air bubbles. Use a smoothing tool, like a plastic squeegee or a soft cloth, to gently remove any wrinkles or air bubbles. Imagine a smooth, even application of the wallpaper, with no visible wrinkles or air bubbles. The edges are neatly trimmed, and the pattern is perfectly aligned. For a flawless finish, use a sharp utility knife to trim the excess wallpaper along the edges, ensuring a clean and precise cut. A detailed visual would show the wallpaper seamlessly integrated with the door, the pattern consistent, and the edges perfectly aligned with the door frame.
Wallpapering Curved or Uniquely Shaped Cabinet Doors
Wallpapering curved or uniquely shaped cabinet doors requires a different approach. For gently curved doors, you can use the same smoothing technique as with flat doors, but you may need to make several smaller cuts to accommodate the curve. For more complex shapes, consider pre-pasting the wallpaper and carefully applying it in sections, smoothing each section individually. The key is to work slowly and methodically, allowing the wallpaper to conform to the curves of the door. A comparison of techniques would show that while flat doors allow for a single, large piece of wallpaper, curved doors necessitate a more piecemeal approach, requiring more cuts and careful smoothing to avoid wrinkles and creases. Imagine a meticulously applied wallpaper that elegantly follows the curves of the door, hugging the contours seamlessly. The final product will appear almost as if the wallpaper was molded to the shape.
Applying Wallpaper Around Door Handles and Hinges
Applying wallpaper around door handles and hinges requires careful planning and precision cutting. First, measure and mark the location of the handles and hinges on the wallpaper. Cut precise openings around these areas using a sharp utility knife or craft scissors. Then, apply the wallpaper as usual, ensuring that the cutouts align perfectly with the hardware. A detailed visual description would show the wallpaper neatly surrounding the handles and hinges, with clean, precise cutouts that perfectly frame the hardware. The wallpaper should be smooth and unwrinkled, even in the close proximity of the handles and hinges. The cutouts themselves should be clean and sharp, showing no evidence of tearing or fraying. The final result is a professional-looking application where the hardware appears seamlessly integrated with the design.
Finishing Touches and Maintenance

Transforming your plain cabinet doors with wallpaper is a rewarding project, but the final steps are crucial for ensuring a long-lasting, beautiful finish. Proper sealing protects your handiwork from moisture and everyday wear and tear, while understanding the best cleaning methods will keep your cabinets looking their best for years to come. This section details the essential finishing touches and maintenance strategies to maintain the beauty of your wallpapered cabinets.
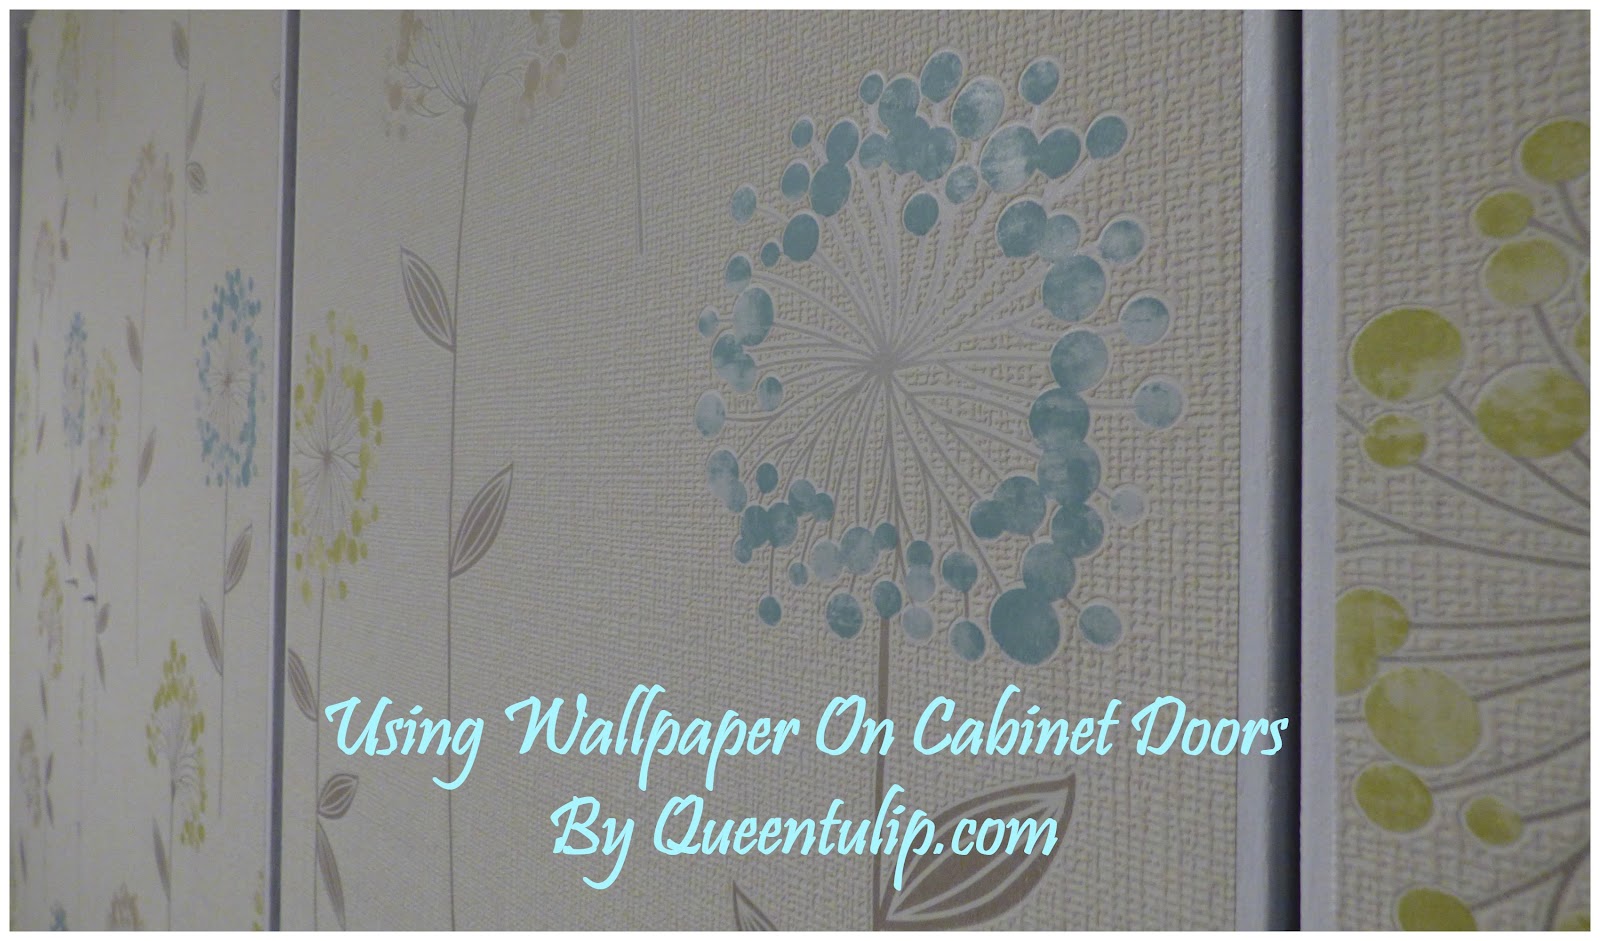
Sealing the wallpaper is vital to protect it from spills, steam, and the general humidity of a kitchen or bathroom. A properly sealed finish will also make cleaning significantly easier. The finished product should display a smooth, even surface with the vibrancy of the wallpaper fully preserved. The subtle texture of the wallpaper should still be visible, but not easily marred or damaged. Think of it as adding a protective layer, like a clear coat of varnish on a piece of furniture, preserving the underlying beauty without obscuring it.
Sealing the Wallpapered Cabinet Doors
Several options exist for sealing wallpapered cabinet doors, each offering varying degrees of protection and sheen. A water-based sealant is a good choice for most applications; it’s easy to apply, dries quickly, and provides a good level of protection. For high-moisture areas like bathrooms, a polyurethane sealant offers superior water resistance. Apply the sealant in thin, even coats, allowing each coat to dry completely before applying the next. Follow the manufacturer’s instructions carefully for best results. Overlapping strokes will help ensure even coverage and prevent streaks. Two thin coats are generally preferable to one thick coat, minimizing the risk of drips and ensuring a smooth finish. The final result should be a glossy, yet subtly textured surface that protects the wallpaper while maintaining its visual appeal.
Cleaning and Maintaining Wallpapered Cabinet Doors
Regular cleaning will extend the life of your wallpapered cabinet doors and keep them looking their best. Avoid harsh chemicals or abrasive cleaners, which can damage the wallpaper or the sealant. Instead, focus on gentle cleaning methods.
How to wallpaper cabinet doors – The following cleaning products and techniques are recommended:
- Mild soapy water: Mix a small amount of mild dish soap with warm water. Use a soft cloth or sponge to gently wipe down the cabinet doors. Rinse with clean water and dry thoroughly.
- Microfiber cloth: Microfiber cloths are excellent for dusting and removing light soil without scratching the surface. Use a dry microfiber cloth for regular dusting.
- Glass cleaner (for sealed surfaces): If the sealant is compatible, a glass cleaner can be used to remove stubborn fingerprints or smudges. Always test in an inconspicuous area first.
- Avoid abrasive cleaners and scouring pads: These can scratch the sealant and damage the wallpaper.
- Avoid excessive moisture: Do not soak the cabinet doors or allow water to pool on the surface.
